Loading
Watercolor Daily · Guides
Wet-on-Wet Watercolor Technique: Complete Beginner Guide
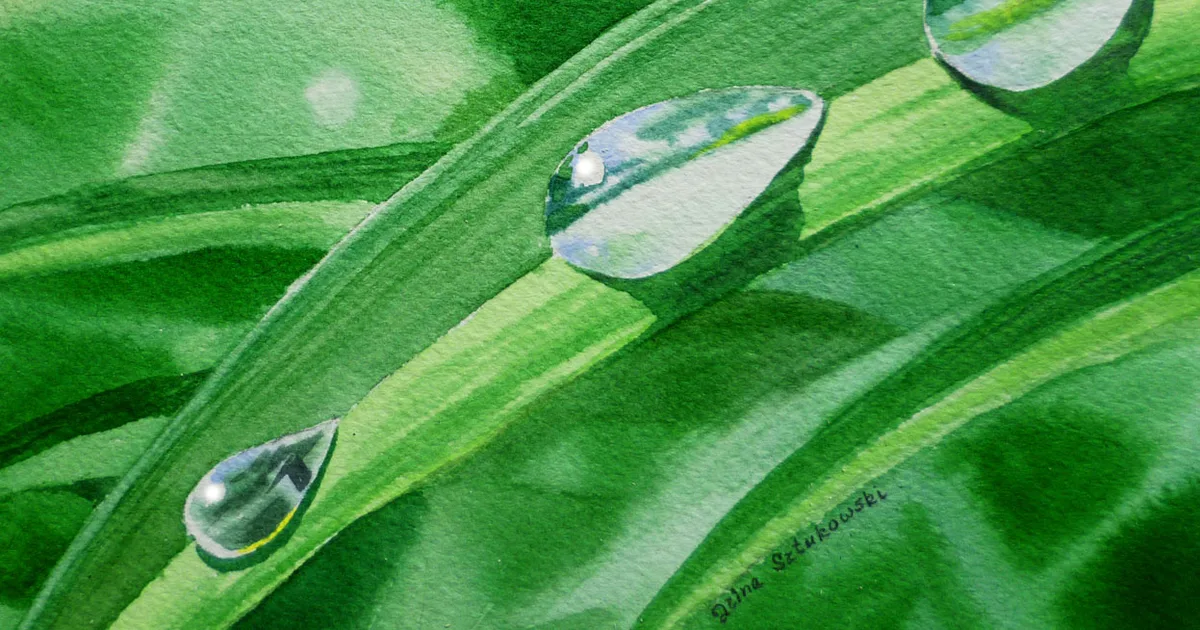
Painting: Irina Sztukowski, Wikimedia Commons, CC BY-SA 3.0
The wet-on-wet watercolor technique means painting onto paper that is already wet, so the paint spreads and dries with soft edges. It is how painters get misty skies, soft clouds and glowing flower petals. It also feels unpredictable at first: paint runs everywhere, colors turn muddy, or ragged blooms appear as the wash dries. The fix is not talent. It is learning to read how wet your paper is, and matching your paint to it.
In short: Match the wetness of your brush to the wetness of your paper. Use 100% cotton paper of 300 gsm (140 lb), wait until standing water has soaked in and the sheet has an even shine, and always use paint that is thicker than the water already on the paper.
What is the wet-on-wet watercolor technique? (quick answer)
Putting wet paint onto wet paper. The paint spreads into the water on the sheet and dries with soft, feathered edges. The wetter the paper, the further it spreads, so timing matters more than brushwork.
Overview: How the Wet-on-Wet Watercolor Technique Works
Paint follows water. When you touch a loaded brush to wet paper, the pigment travels outward into the wet area until the water stops it. On very wet paper it travels a long way. On damp paper it barely moves.
That is why most of this guide is about reading the paper, not about brushstrokes. Learn the four wetness stages below, and the technique becomes far more predictable.
Understanding Paper Moisture and the 4 Wetness Stages
You can tell how wet paper is by how it reflects light. Tilt your board toward a window or lamp and look across the surface.
1. Mirror wet: standing water
Right after you wet the sheet, water sits on top like a mirror. Paint dropped in now spreads wildly in every direction. Avoid this stage unless you want a loose, abstract background. Soak up puddles along the edges with a thirsty brush or a towel.
2. Glossy: the best moment for washes
Usually within a minute or two, the water soaks in and leaves an even, glassy shine with no puddles. This is the best time for big washes, soft clouds and two-color blends. Paint spreads in soft, cloud-like edges but stays roughly where you put it.
3. Satin: soft shapes with more control
As the paper dries further, the shine turns soft, like satin, and the texture of the paper starts to show. Paint now spreads only a little past the brushstroke. This is the stage for soft-edged shapes such as shadows and leaves.
4. Damp: the danger zone
The shine is gone, but the paper still feels cool on the back of your hand. The surface is drying fast. Touching it now almost always causes hard blooms and rings. If a wash reaches this stage and still needs work, stop and let it dry completely.
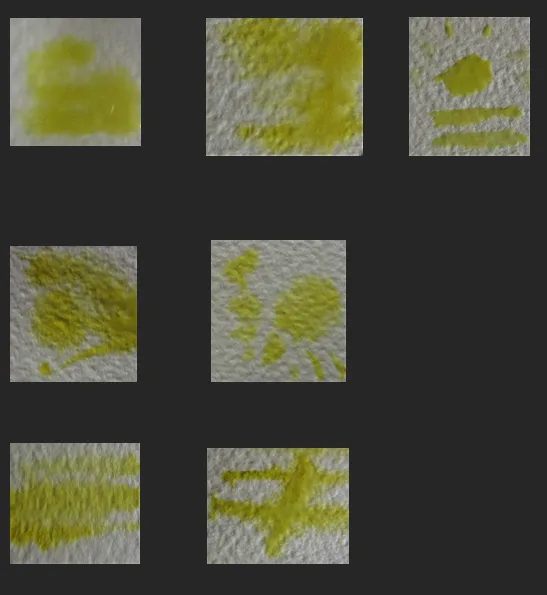 Les.aqua, CC0 via Wikimedia Commons. The same yellow placed on paper at different moisture levels, from standing water to dry. The wetter the sheet, the softer and wider the spread.
Essential Supplies for Wet-on-Wet Painting
You need supplies that hold water evenly. The wrong paper causes most beginner frustration with this technique.
100% cotton paper, 300 gsm (140 lb)
Paper decides how long you can work. Cotton takes in water evenly and stays wet for several minutes, as the best watercolor paper for beginners guide explains. Wood-pulp paper keeps water on its surface, puddles quickly and buckles.
A large brush and a pointed round
Use a large soft brush, such as a mop or a synthetic squirrel brush, to wet the paper. For the paint, a size 8 or 10 round with a good point lets you place color and control how much comes off the brush.
Transparent paints
Transparent colors spread cleanly in water. Good examples are a warm blue, French Ultramarine (PB29), and a cool pink-red, Quinacridone Rose (PV19). The watercolor for beginners supplies guide lists a full starter palette.
GODEEPER: Most snow scenes start with a wet-on-wet sky. The snow guide shows how to keep the paper white below it and paint blue shadows. How to Paint Snow in Watercolor: 9 Tips for Clean Whites →
Step-by-Step Walkthrough
This five-step exercise paints a soft two-color sky with clouds.
1. Tape down and wet the paper. Tape a quarter sheet of 300 gsm cold-press cotton paper to a board. With a wide brush and clean water, lay overlapping strokes from top to bottom until the whole sheet is evenly wet. 2. Check the shine and remove puddles. Tilt the board toward the light and look across it. If water gathers along the bottom edge, touch a damp sponge or towel to it. Wait until the surface has an even, glossy shine. 3. Mix your paint. While the paper settles, mix two puddles: a blue (French Ultramarine) and a warm gold (Quinacridone Gold). The split-primary palette guide explains why one warm and one cool color mix cleanly. Aim for the consistency of milk: runny, but strongly colored. 4. Paint the sky from the top. Sweep the blue across the top third. Its lower edge softens at once. Rinse, then sweep the gold across the middle, leaving a thin white gap. The water on the paper pulls the two colors together. 5. Add cloud shadows, then leave it. Load slightly thicker paint, like light cream, and touch it into the lower edge of the sky. It spreads into soft, rounded shapes. Then lay the board flat and walk away until it is completely dry. A hair dryer can push the paint around and leave lines.
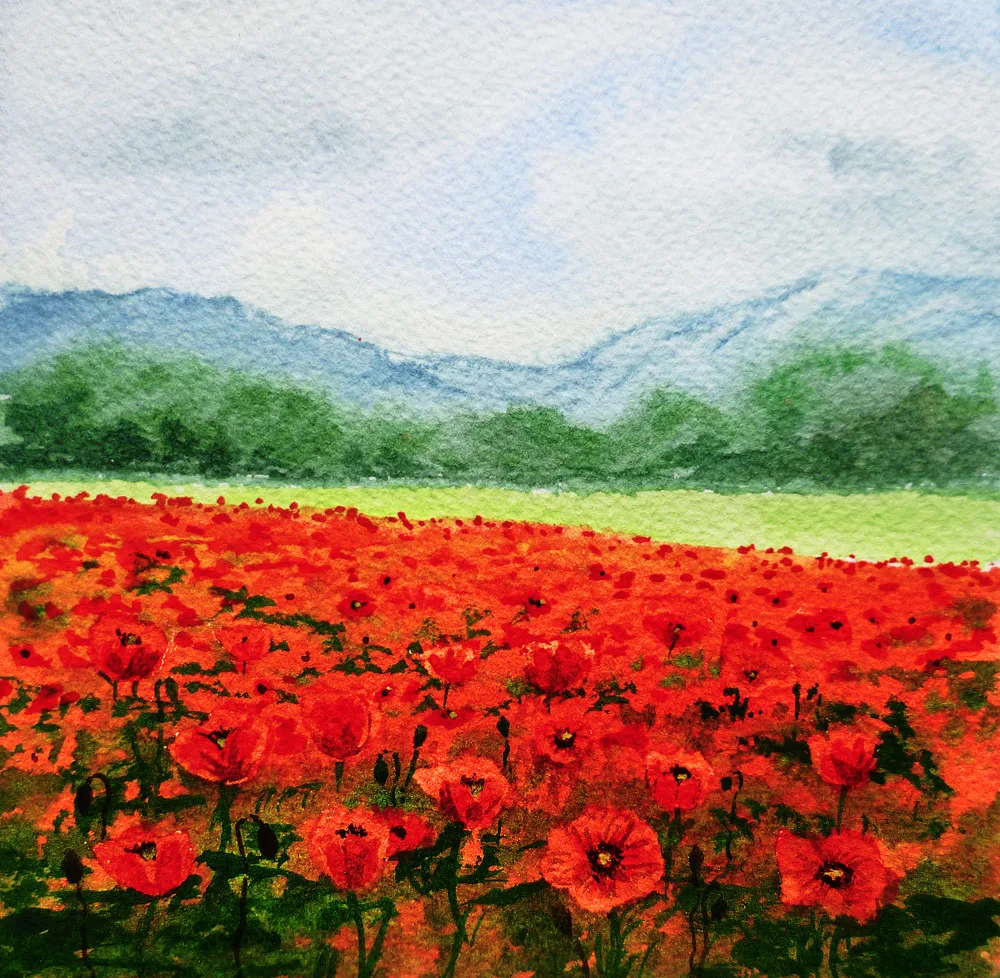 Irina Sztukowski, Red Poppy Field (2012), CC BY-SA 3.0 via Wikimedia Commons. The sky is the kind of soft, cloud-broken wash this exercise builds, with the paper's cold-press texture showing through.
4 Common Wet-on-Wet Mistakes and How to Avoid Them
| Problem | Cause | Fix |
|---|---|---|
| Blooms (cauliflowers) | Wetter paint added to paper that has started to dry | Keep your brush drier than the paper. Touch it to a towel before painting into a damp area |
| Muddy colors | Brushing back and forth over wet paint | Lay each color in one stroke and let the water do the blending |
| Buckled, puddled paper | Wood-pulp paper, or too much water on untaped paper | Use 300 gsm cotton paper and tape it to a board |
| Washes that look faded | Watercolor dries lighter than it looks when wet | Mix your paint a little darker than you want the final color |
Tips: How Different Paints Behave in Wet Washes
Not every paint spreads the same way in a wet wash. Brands differ too, as the Daniel Smith vs Winsor & Newton comparison shows.
Granulating paints have heavier particles that settle into the dips of the paper's texture. Cerulean Blue (PB35), French Ultramarine (PB29) and Burnt Sienna (PBr7) all do this. In a wet wash they leave a soft, speckled texture.
Staining paints have very fine particles that soak into the paper fibers. Phthalo Blue (PB15:3), Phthalo Green (PG7) and the quinacridones are examples. They spread quickly and strongly in a wet wash, and they are hard to lift once dry, so place them deliberately.
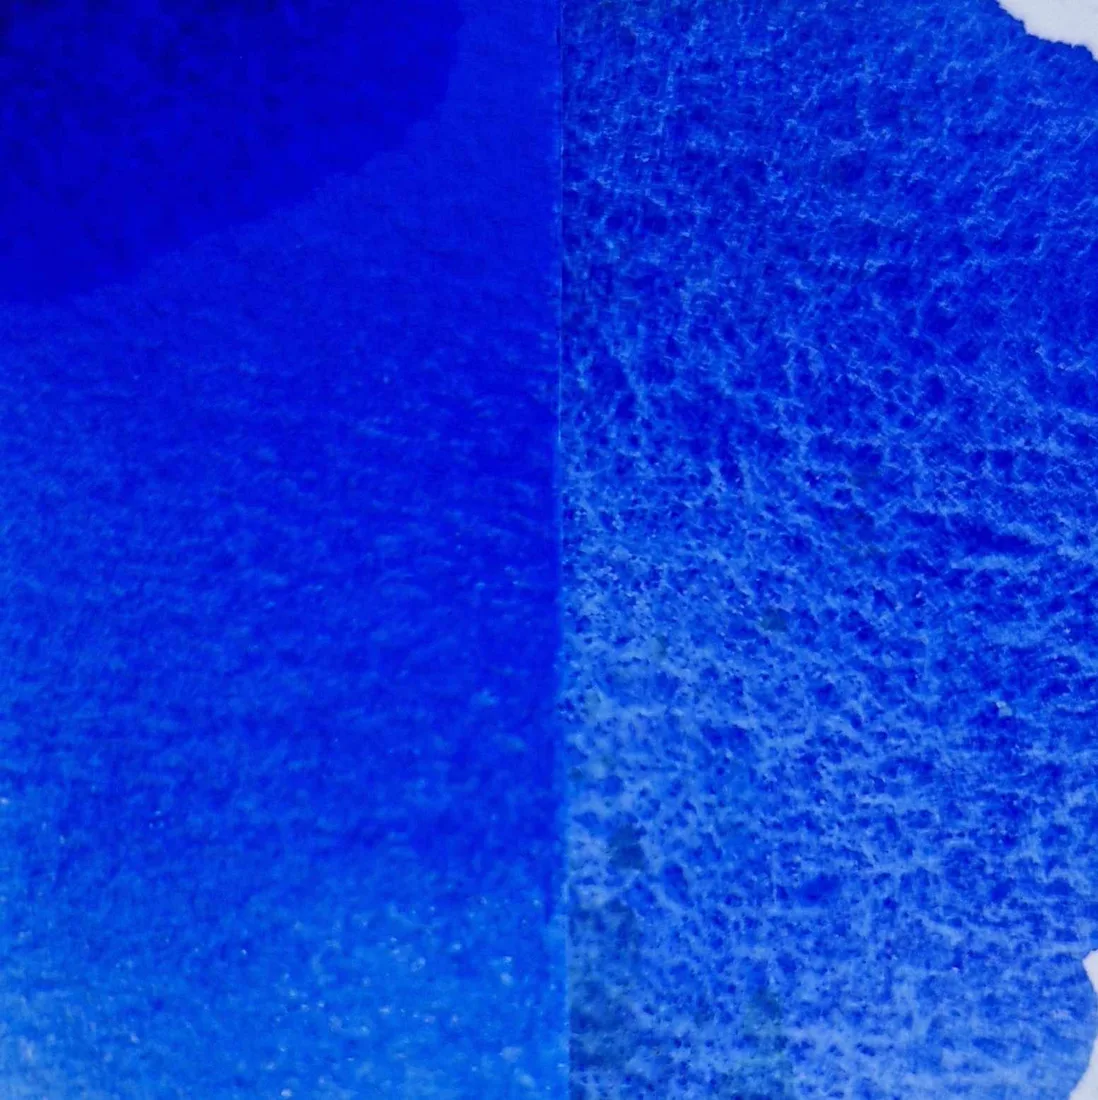 Les.aqua, CC0 via Wikimedia Commons. Ultramarine blue laid concentrated on the left and granulating on the right, where the pigment has settled into the paper's texture.
GODEEPER: Three of the Christmas card ideas are wet-on-wet practice in card form: red baubles, a winter sky and a candle glow. 12 Easy Watercolor Christmas Card Ideas for Beginners →
Frequently Asked Questions
What is the wet-on-wet watercolor technique?
It means putting wet paint onto paper that is already wet. The paint spreads into the water on the sheet and dries with soft, feathered edges instead of crisp ones. Painters use it for skies, backgrounds, clouds and soft flower petals, and it is the basis of most loose watercolor.
Why does my wet-on-wet watercolor create backruns or cauliflowers?
A backrun, also called a cauliflower or bloom, happens when wetter paint touches an area that has started to dry. The extra water pushes the drying paint outward into a ragged edge. Use paint that is thicker than the water on the paper, or wait until the area is fully dry.
What paper is best for the wet-on-wet watercolor technique?
100% cotton, cold-press paper of at least 300 gsm (140 lb). Cotton takes in water evenly, so the sheet stays wet long enough to work and does not puddle. Wood-pulp paper keeps water on its surface and dries unevenly, which makes wet-on-wet blending much harder.
How do you know when paper is ready for wet-on-wet painting?
Tilt the board toward a light and look across the paper. You want an even shine with no puddles standing on it; a glossy or satin shine is the right moment. If the shine is gone but the paper still feels cool to the touch, wait for it to dry instead.
Can you fix a wet-on-wet wash once it begins to dry unevenly?
Not while it is drying, because touching a half-dry wash leaves streaks and blooms. Let it dry completely first. Then paint a thin layer over it, or lift some color gently with a clean, damp brush and a tissue.
Related Reading
- Understanding Watercolor Granulation: Pigment Science and Effects
- Wet-on-Dry Watercolor Technique: Crisp Edges and Fine Details
- Cold-Pressed Paper Properties for Fluid Washes
- Lightfastness Standards in Fine Art Watercolor
References
Was this guide helpful?

Written by
Marcus ReedTechnique Editor
Marcus Reed writes Watercolor Daily's step-by-step technique guides: wet-on-wet washes, glazing, dry brush, and the water control underneath them.
NextKeep reading
Guides / 10 min
How to Paint Snow in Watercolor: 9 Tips for Clean Whites
Guides / 12 min
Masking Fluid Watercolor Guide: 7 Steps and 3 Products
Guides / 12 min
Glazing Watercolor Technique: 6 Steps to Layer Clean Color
Guides / 11 min
Flat Wash Watercolor Technique: Flat and Graded in 5 Steps
Guides / 11 min
Dry Brush Watercolor Technique: 8 Tips for Broken Texture
Guides / 10 min
Wet-on-Dry Watercolor Technique: Crisp Edges in 6 Steps
Guides / 9 min
Watercolor for Beginners: Essential Supplies & Buying Guide
Guides / 14 min
How to Clean Watercolor Brushes: 7 Steps, 3 Ways to Dry
Disclaimer
This article is published for informational purposes and is not professional advice. Product formulations, pigment sources, packaging and store listings change. Check the details that matter to you (price, pigment content, regional availability) with the manufacturer or retailer before you buy.