Loading
Watercolor Daily · Features
11 Christmas Watercolor Ideas to Paint With 5 Tubes
Christmas watercolor ideas for beginners, 11 festive scenes and objects from five tubes. Each lists its pigment codes, paper, time estimate and three steps.
14 min readBy Marcus Reed
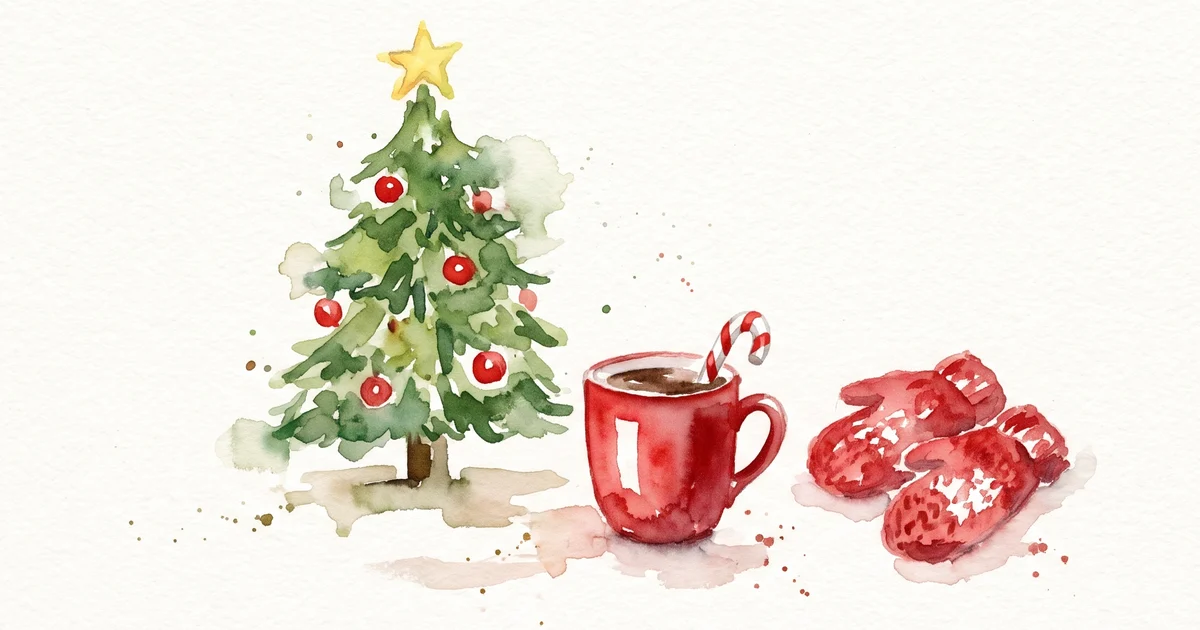
These 11 christmas watercolor ideas all come from the same five tubes of paint, so you buy once and paint everything here. Every pine, every gingerbread brown and every patch of snow shadow is mixed from a red, a yellow, a green, a blue and a brown.
Most holiday idea lists stop at a picture and a title. Each idea below also tells you the colors with their pigment codes, the paper, a rough time and the order to paint it in. If you already painted our Christmas cards, these are new subjects on the same palette.
In short: Buy five tubes: Pyrrol Scarlet (PR255), Hansa Yellow Medium (PY97), Phthalo Green Blue Shade (PG7), French Ultramarine (PB29) and Burnt Sienna (PBr7). Paint on 300 gsm (140 lb) cold-press paper. Start with the candy cane, which takes about 15 minutes, then the fairy lights and the mittens. Save the gingerbread house and the snowy street for a free afternoon.
What are the easiest christmas watercolor ideas? (quick answer)
A candy cane, a string of fairy lights and a pair of mittens. Each one is a simple shape with one or two colors and nothing to blend. If the stripes wobble or a bulb runs, it still reads as a candy cane or a light. That's why they come first.
Overview
Every idea on this list uses the same short supply list.
Paper. Cold-press watercolor paper at 300 gsm (140 lb). Cold press means the sheet has a light tooth, or texture, that holds small dabs of paint well and takes a wet sky without buckling much. Cotton sheets hold a wash longer than wood-pulp ones, which helps on the wet-on-wet ideas. If you're working from loose sheets, stretching the paper first keeps the sky ideas flat.
Brushes. A medium round, around a size 8, for skies, trees and roofs. A small round, around a size 4, for stripes, bulbs, icing and strings.
Paint. Five tubes, all from Daniel Smith's Extra Fine range. Each is a single pigment rated lightfastness I (Excellent) on the maker's page, so a painting you frame won't fade.
- Red, Pyrrol Scarlet (PR255): a clean fire-engine red for baubles, stripes, berries and bows. Semi-transparent and medium staining.
- Yellow, Hansa Yellow Medium (PY97): a mid yellow for lights, stars and the warm side of gingerbread. Low staining, so it lifts if you overdo it.
- Green, Phthalo Green Blue Shade (PG7): a deep, transparent blue-green. It's strongly staining, so start pale. On its own it's too cold for pine, which is why it gets a touch of yellow.
- Blue, French Ultramarine (PB29): a warm blue that granulates, meaning the pigment settles into the paper's texture as a fine speckle. That speckle reads as snow.
- Brown, Burnt Sienna (PBr7): a transparent, non-staining earth for trunks, gingerbread and the dark side of a bow.
Four mixes do most of the work. Pine green is green with a little yellow. Gingerbread is brown with a touch of red. Snow grey is a watery blue with a touch of brown. Holly dark is green with a touch of red, for shadows inside greenery. The split-primary palette guide explains why a short palette like this mixes cleaner than a big set.
One optional extra: masking fluid for the snowfall in the street scene. You can skip it and leave the sky plain.
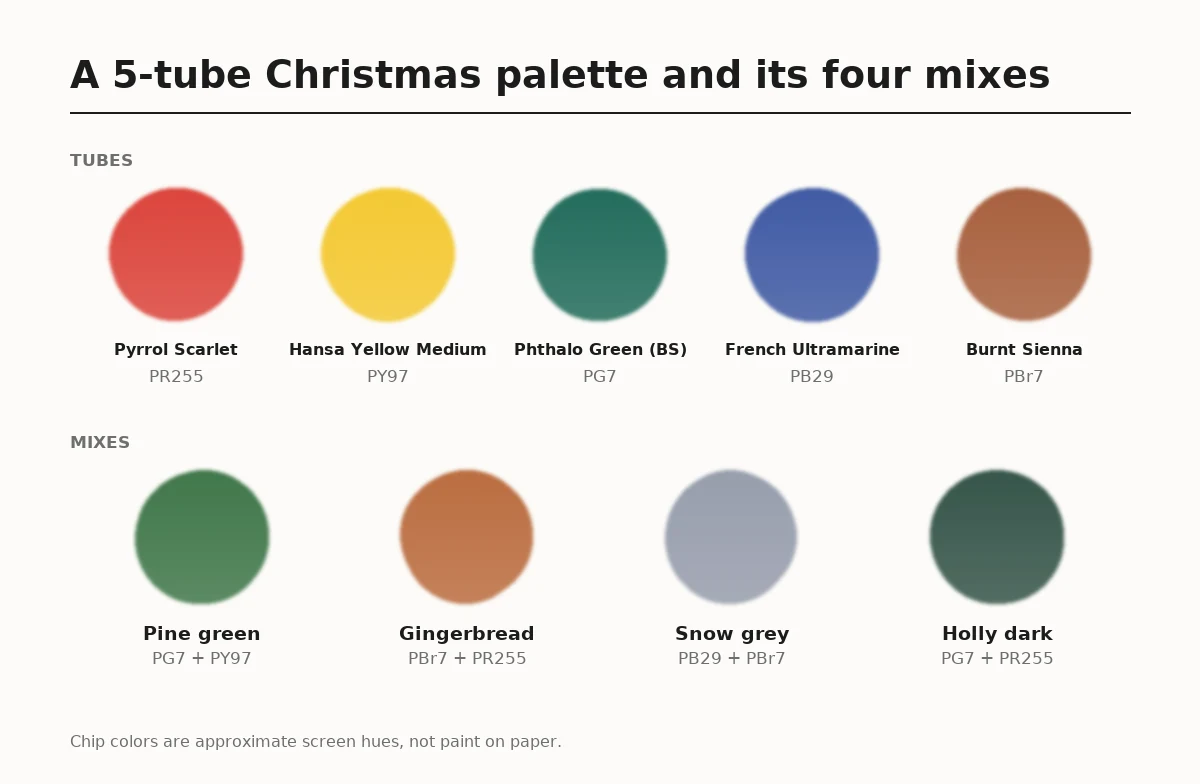 Chart of the five tubes and the four mixes used across the ideas. Chip colors are approximate screen hues.
Christmas Watercolor Ideas Under 30 Minutes
These five christmas watercolor ideas are single objects with one or two colors each. Start with these.
1. Candy Cane
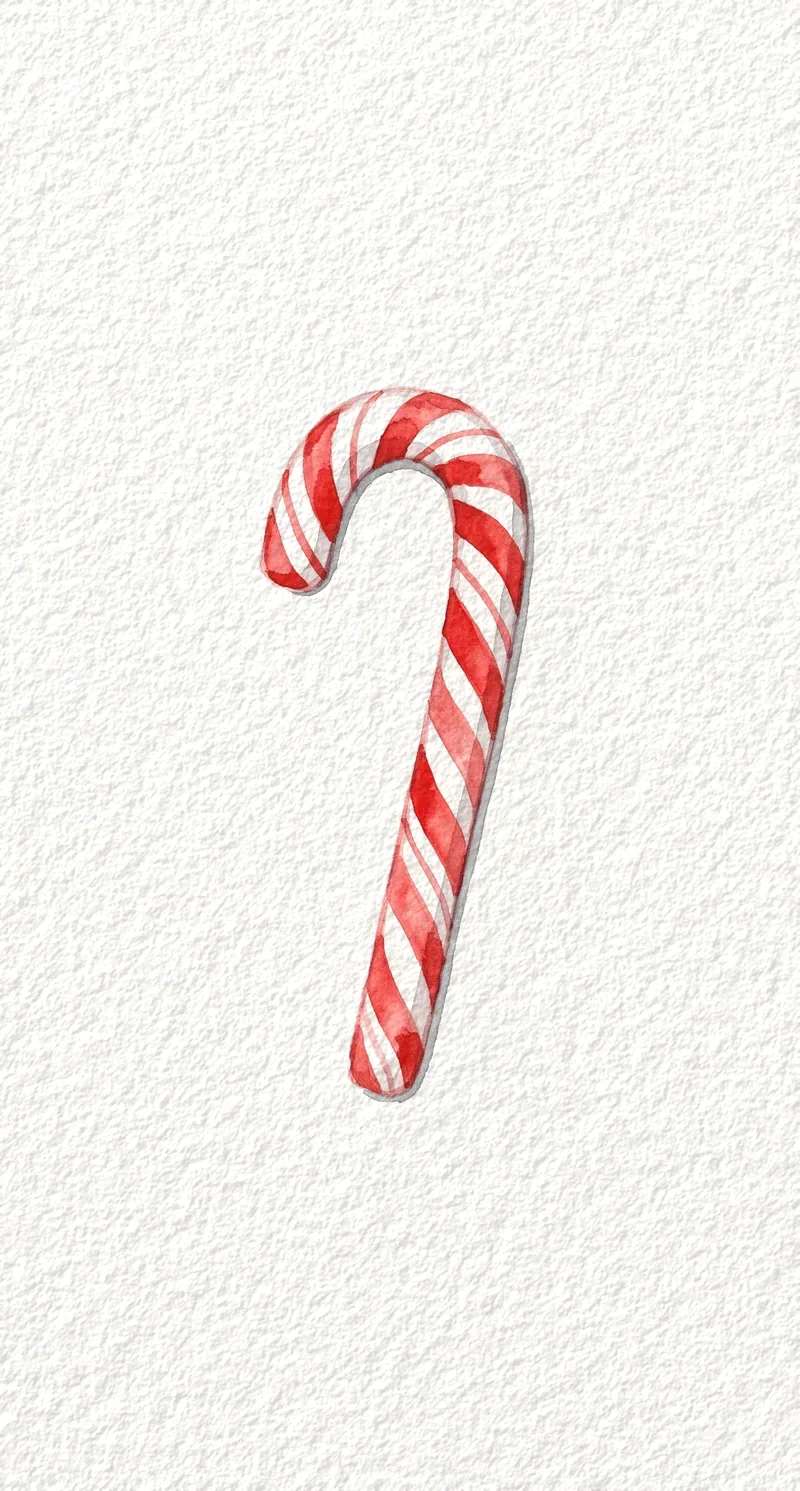 The white stripes are bare paper, so only the red is painted.
A hooked cane with red stripes. The white stripes are bare paper, so you only paint the red.
- Palette: red (PR255), a little snow grey (PB29 + PBr7)
- Paper: 300 gsm cold press
- Time: about 15 minutes · Difficulty: easy
1. Draw a light hook. Pencil a thin J shape, about the width of your finger. 2. Paint the stripes. With the small round, paint short diagonal bands of red across the cane, leaving equal gaps of paper white between them. 3. Shade one edge. When dry, run a thin line of snow grey down one side of the cane so it looks round.
2. String of Fairy Lights
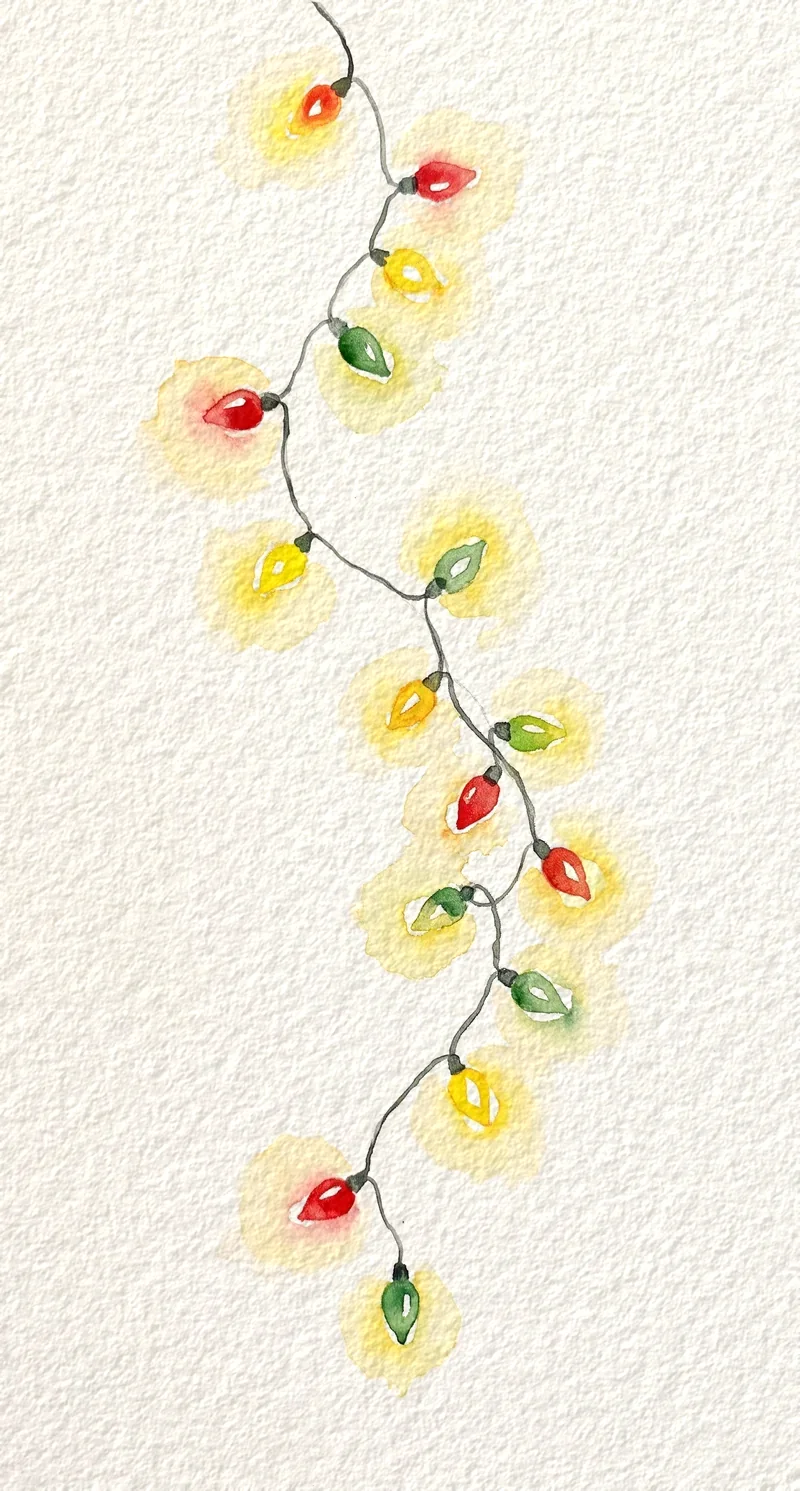 The yellow glow goes down first; the bulbs are painted once it is dry.
A loopy dark wire with glowing bulbs in red, yellow and green. Each bulb is one dab.
- Palette: yellow (PY97), red (PR255), green (PG7), brown (PBr7)
- Paper: 300 gsm cold press
- Time: about 20 minutes · Difficulty: easy
1. Paint the glow. Dab very watery yellow circles in a loose wavy line across the page, spaced a thumb apart. 2. Add the bulbs. When the glow is dry, paint a small teardrop of red, yellow or green in the middle of each circle, alternating colors. 3. Draw the wire. Join the bulbs with a thin, slightly sagging line of dark brown and green mixed together.
3. Pair of Knitted Mittens
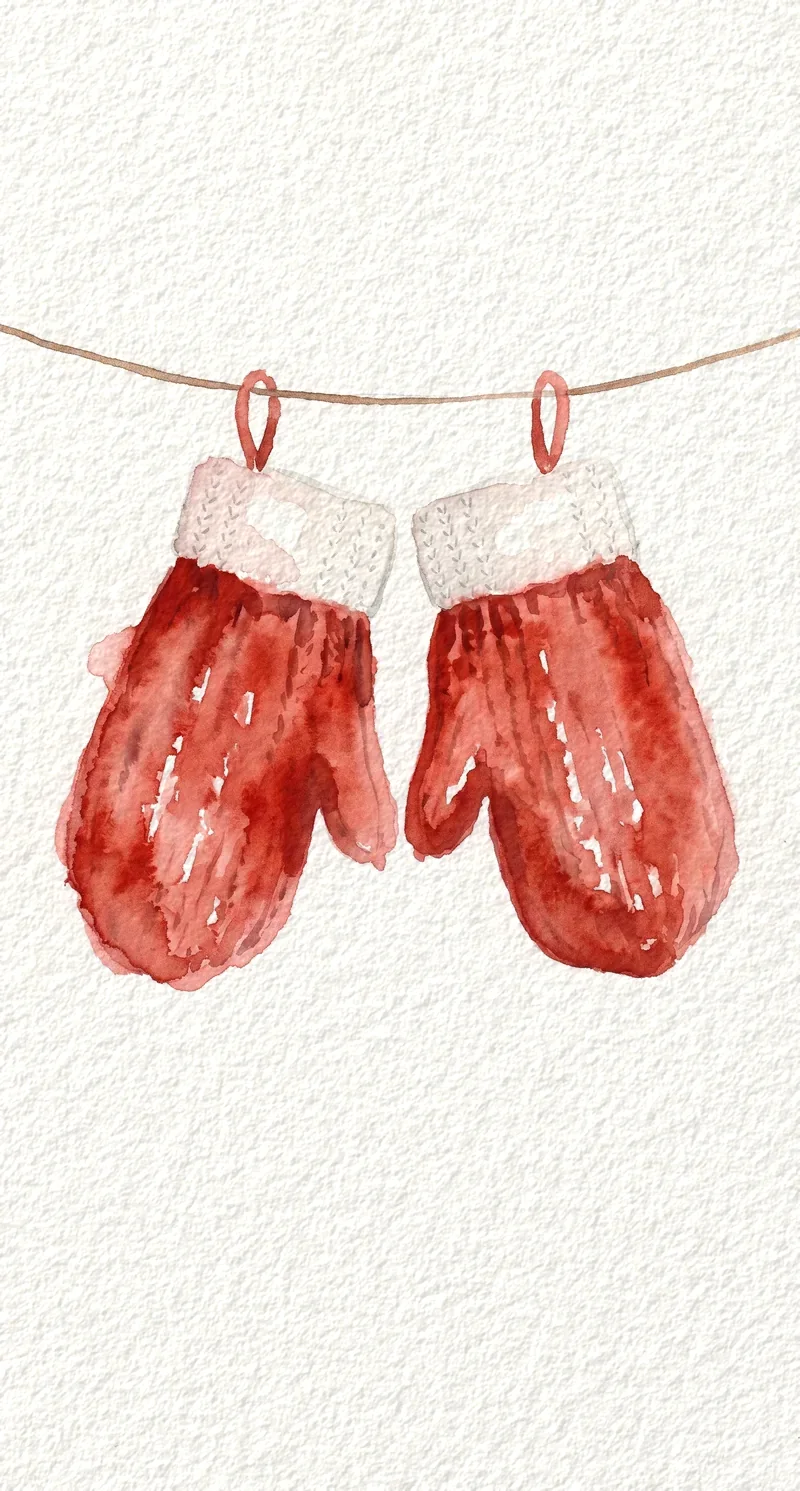 A stronger red along the thumb side is what makes each mitten look rounded.
Two red mittens hanging on a string, with a pale cuff and a few dots for the knit.
- Palette: red (PR255), snow grey (PB29 + PBr7), brown (PBr7)
- Paper: 300 gsm cold press
- Time: about 20 to 25 minutes · Difficulty: easy
1. Paint the mittens. Paint two mitten shapes in red, thumbs pointing toward each other, leaving a white band at the wrist for the cuff. 2. Darken the thumb side. While the red is damp, touch a stronger red along the thumb edge of each mitten. 3. Add the cuff and string. When dry, paint short grey dashes across the cuffs and a thin brown string from one mitten to the other.
4. Red Bauble With a Reflection
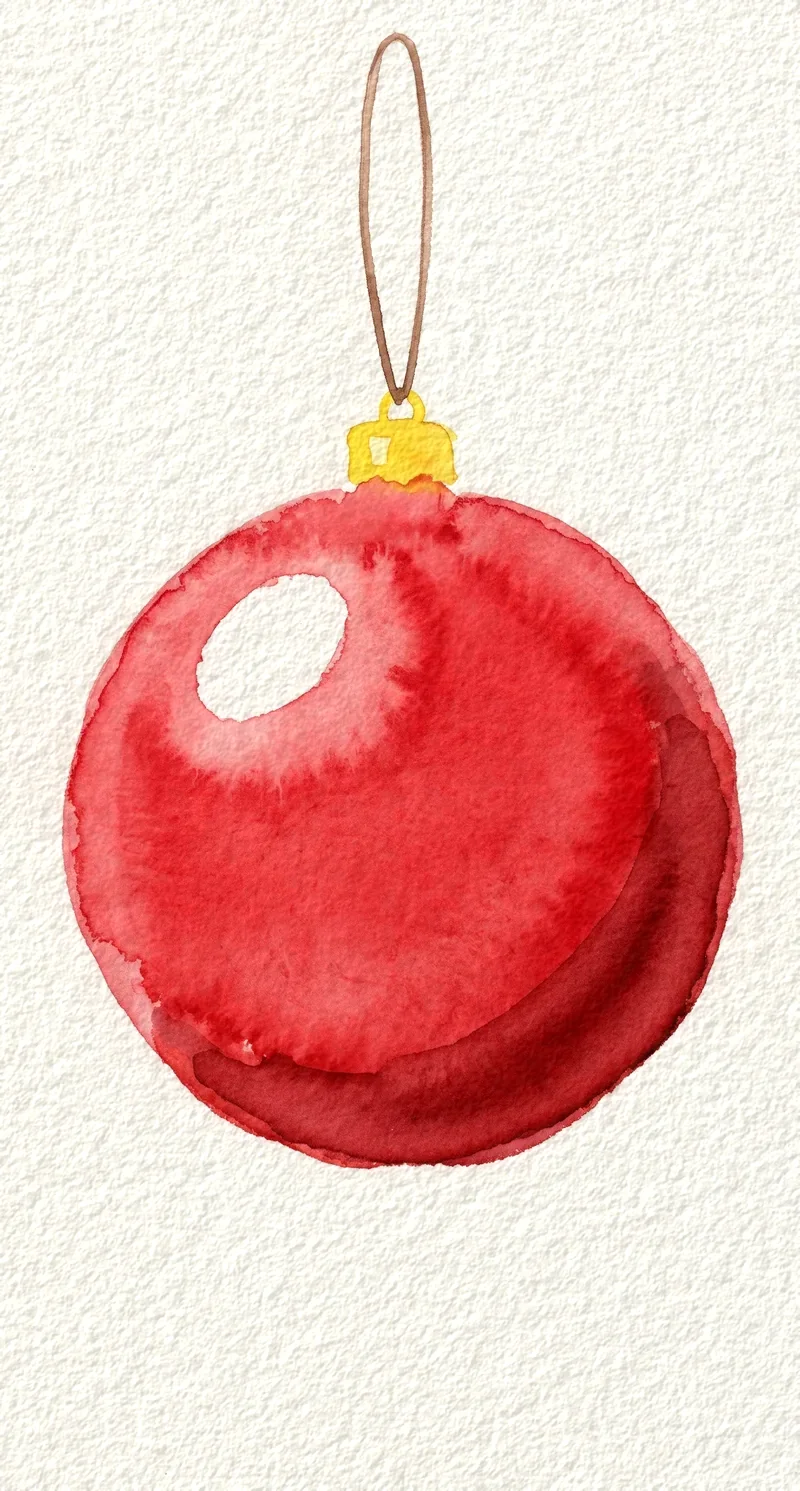 The highlight is a patch of paper left unpainted near the top left.
One large bauble with a bright highlight and a pale reflection curve, hanging from a short gold cap.
- Palette: red (PR255), yellow (PY97), brown (PBr7)
- Paper: 300 gsm cold press
- Time: about 25 minutes · Difficulty: easy
1. Paint the sphere. Paint a red circle, leaving a small oval of bare paper near the top left for the highlight. 2. Deepen the shadow side. While it is damp, drop a stronger red mixed with a touch of brown along the lower right edge. 3. Add the cap. When dry, paint a small yellow cap on top with a brown line under it and a thin brown loop above.
5. Mug of Cocoa With a Candy Cane
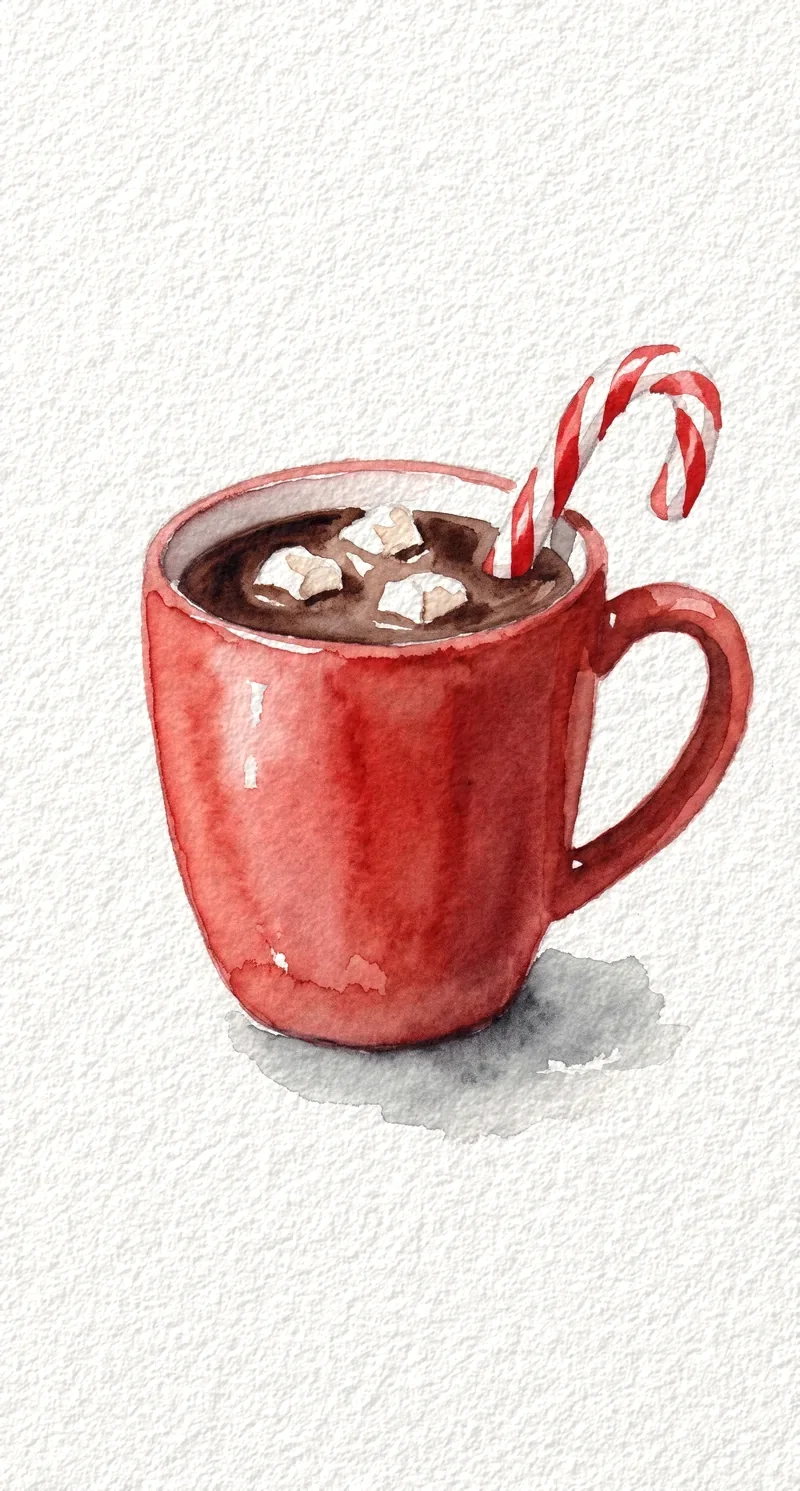 The marshmallows are three small shapes of bare paper inside the dark cocoa.
A red mug with dark cocoa inside and a candy cane hooked over the rim, with a few marshmallows left as paper.
- Palette: red (PR255), brown (PBr7), blue (PB29)
- Paper: 300 gsm cold press
- Time: about 25 to 30 minutes · Difficulty: easy
1. Paint the mug. Paint the mug body in red, leaving a thin white strip down one side for the shine and a J shape at the rim for the cane. 2. Fill the cocoa. When dry, paint the top oval in a dark mix of brown and a little blue, leaving three small white squares for marshmallows. 3. Stripe the cane. Add short red stripes across the white J, then a soft grey shadow under the mug.
GODEEPER: The candy cane, the bauble and the mug all rely on paint going onto dry paper so the edges stay sharp. The wet-on-dry guide shows how to control those edges. Wet-on-Dry Watercolor Technique: Crisp Edges in 6 Steps →
Christmas Watercolor Ideas With One Extra Technique
These four christmas watercolor ideas each add one new move: a wet-on-wet shape, a layered tree, or a lifted glow.
6. Decorated Christmas Tree
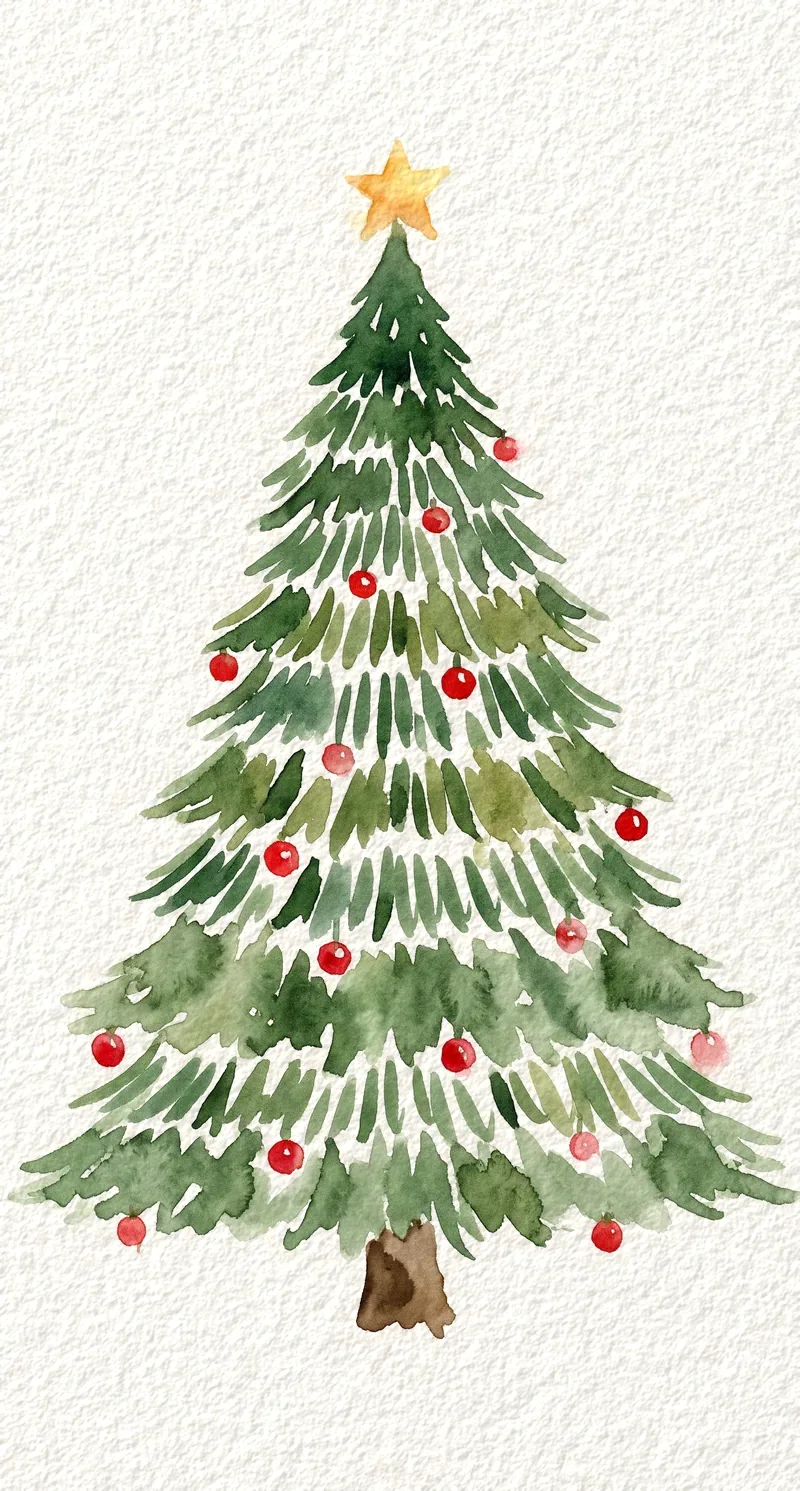 Rows of short, drooping strokes read as branches without drawing a single needle.
A loose triangular tree built from short sideways strokes, with red baubles and a yellow star.
- Palette: green (PG7), yellow (PY97), red (PR255), brown (PBr7)
- Paper: 300 gsm cold press
- Time: about 30 minutes · Difficulty: easy+
1. Build the tree. Paint rows of short, slightly drooping strokes of pine green, narrow at the top and wider toward the bottom, leaving small gaps. 2. Add the trunk and star. When the green is dry, paint a short brown trunk and a yellow star at the tip. 3. Hang the baubles. Dot red circles into the gaps between the strokes, three or four per row near the bottom and fewer near the top.
7. Wreath on a Front Door
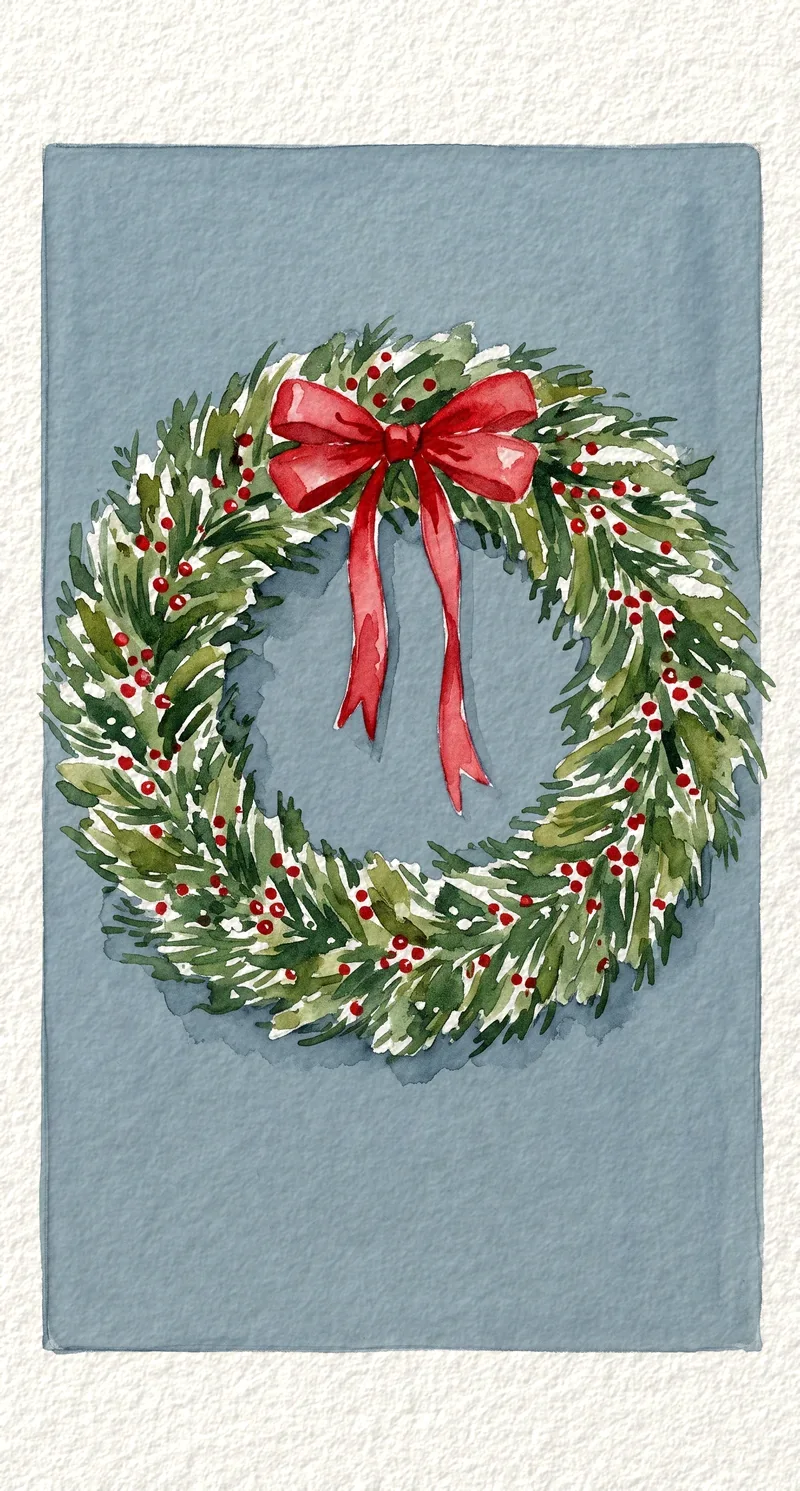 The door is one flat wash; the wreath is built from short green dabs on top once it is dry.
A round green wreath with a red bow, hanging on a plain door painted in one flat color.
- Palette: green (PG7), yellow (PY97), red (PR255), blue (PB29)
- Paper: 300 gsm cold press
- Time: about 35 minutes · Difficulty: easy+
1. Paint the door. Lay a flat wash of blue mixed with a little brown over a tall rectangle, and let it dry fully. 2. Build the wreath. Dab short strokes of pine green around a ring, then holly dark into the lower half of the ring for shadow. 3. Tie the bow. When the green is dry, paint a red bow at the top with two loops and two trailing tails.
8. Snow Globe With a Tiny Tree
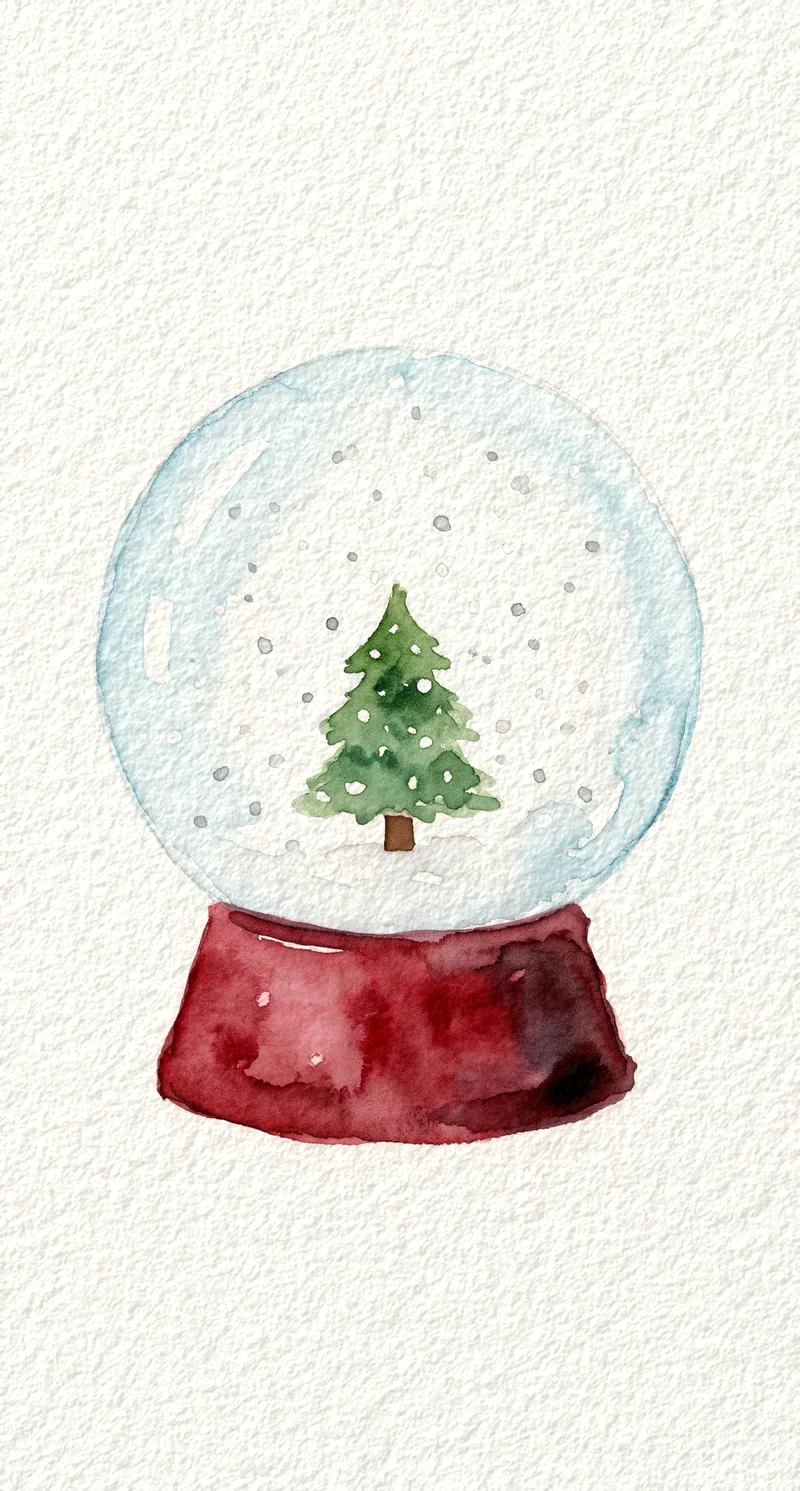 Keeping the center of the globe almost white is what makes it read as glass.
A glass globe on a dark base, with a small pine tree inside and a pale blue wash for the glass.
- Palette: blue (PB29), green (PG7), yellow (PY97), brown (PBr7), red (PR255)
- Paper: 300 gsm cold press
- Time: about 35 to 40 minutes · Difficulty: easy+
1. Wash the glass. Wet a circle and drop very pale blue around its edges, leaving the center almost white. 2. Plant the tree. When dry, paint a small pine green tree in the lower half of the circle with a brown trunk. 3. Add the base and snow. Paint a dark red or brown base under the globe, then a few dots of snow grey around the tree for fallen snow.
9. Gingerbread House With Icing
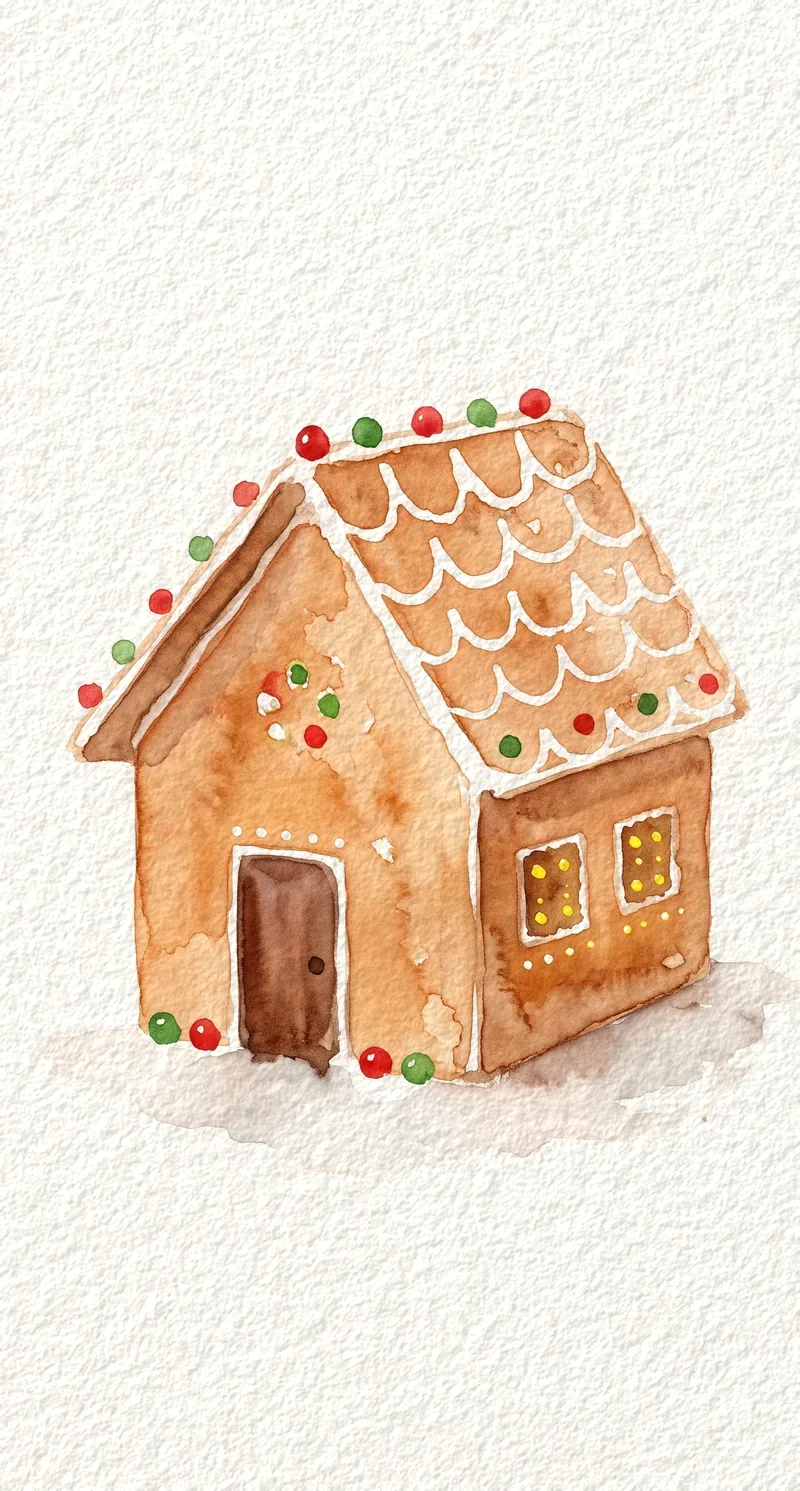 The icing is bare paper left along the roof edge, painted around rather than added.
A brown house with white icing lines along the roof and a few candy dots. The icing is bare paper.
- Palette: brown (PBr7), red (PR255), green (PG7), yellow (PY97)
- Paper: 300 gsm cold press
- Time: about 40 minutes · Difficulty: intermediate
1. Paint the walls and roof. Fill a simple house shape with gingerbread (brown with a touch of red), leaving a thin white scallop along the roof edge for icing. 2. Add the door and windows. When dry, paint a darker brown door and two square windows with a dot of yellow in each. 3. Decorate. Dot red and green candies along the roof line and a small green wreath over the door.
GODEEPER: The snow globe's glass and the street scene's sky both depend on dropping paint into wet paper. The wet-on-wet guide explains how wet the sheet should be and how to avoid hard blooms. Wet-on-Wet Watercolor Technique: Complete Beginner Guide →
Christmas Watercolor Scenes Worth Framing
The last two christmas watercolor ideas are full scenes. They take longer, but each one looks finished enough to frame or give away.
10. Snowy Street With Lit Windows
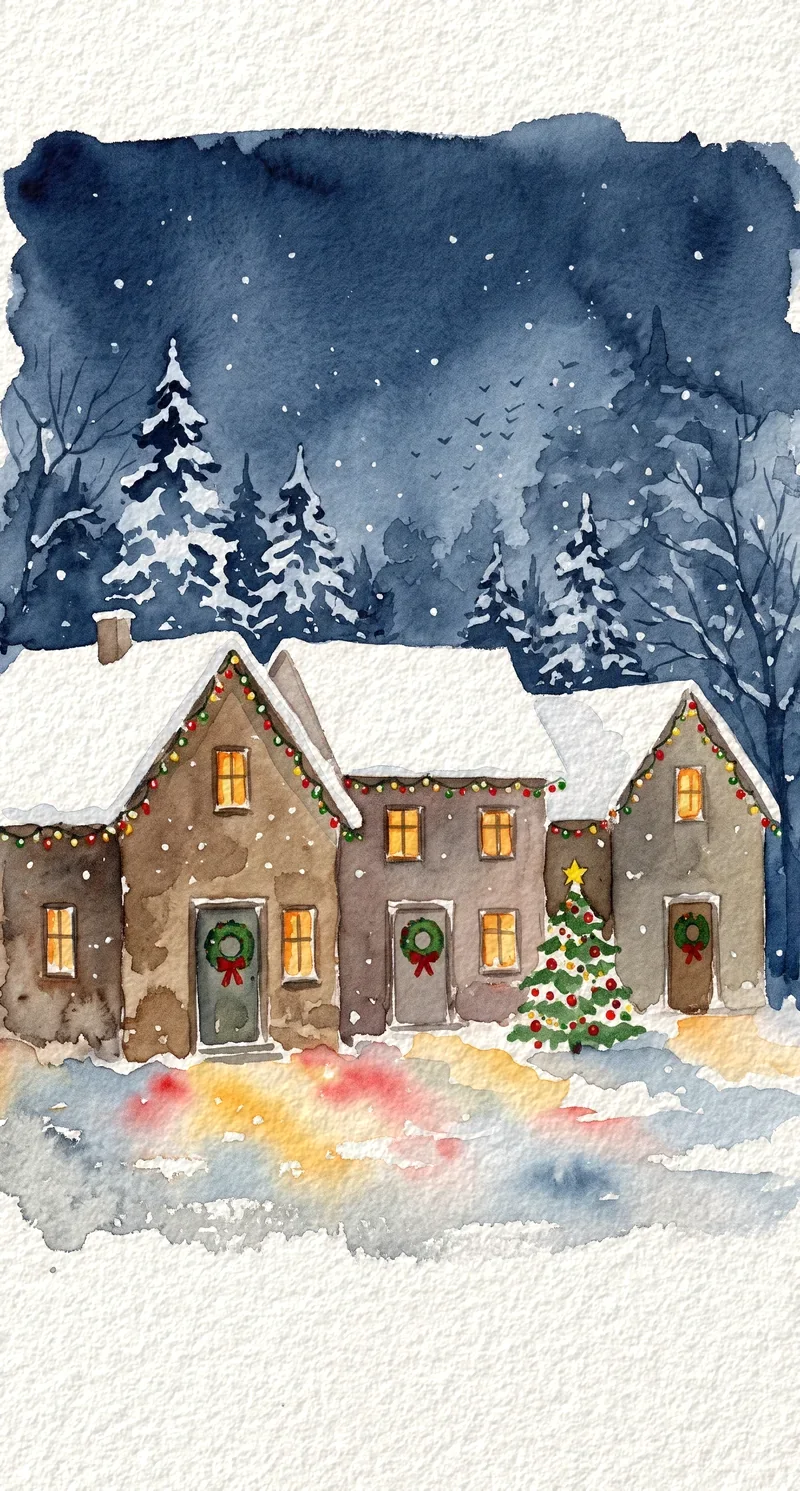 The roofs are bare paper, and the snowflakes come from masking fluid rubbed off at the end.
A row of three or four simple houses at dusk, roofs white with snow, windows glowing yellow, snow falling.
- Palette: blue (PB29), brown (PBr7), yellow (PY97), red (PR255), masking fluid (optional)
- Paper: 300 gsm cold press
- Time: about 50 to 60 minutes · Difficulty: intermediate
1. Mask and wash the sky. Dot masking fluid for snowflakes if you're using it, let it dry, then lay a dusk wash of blue with a touch of red across the sky. 2. Paint the houses. When the sky is dry, paint a row of house walls in snow grey and brown, leaving the roofs as bare paper. 3. Light the windows. Fill each window with yellow, then rub off the masking fluid once everything is dry.
The sky in this scene is the same wash as the winter sky in our easy winter watercolor ideas, with a touch of red added for dusk.
11. Reindeer in a Snowy Field
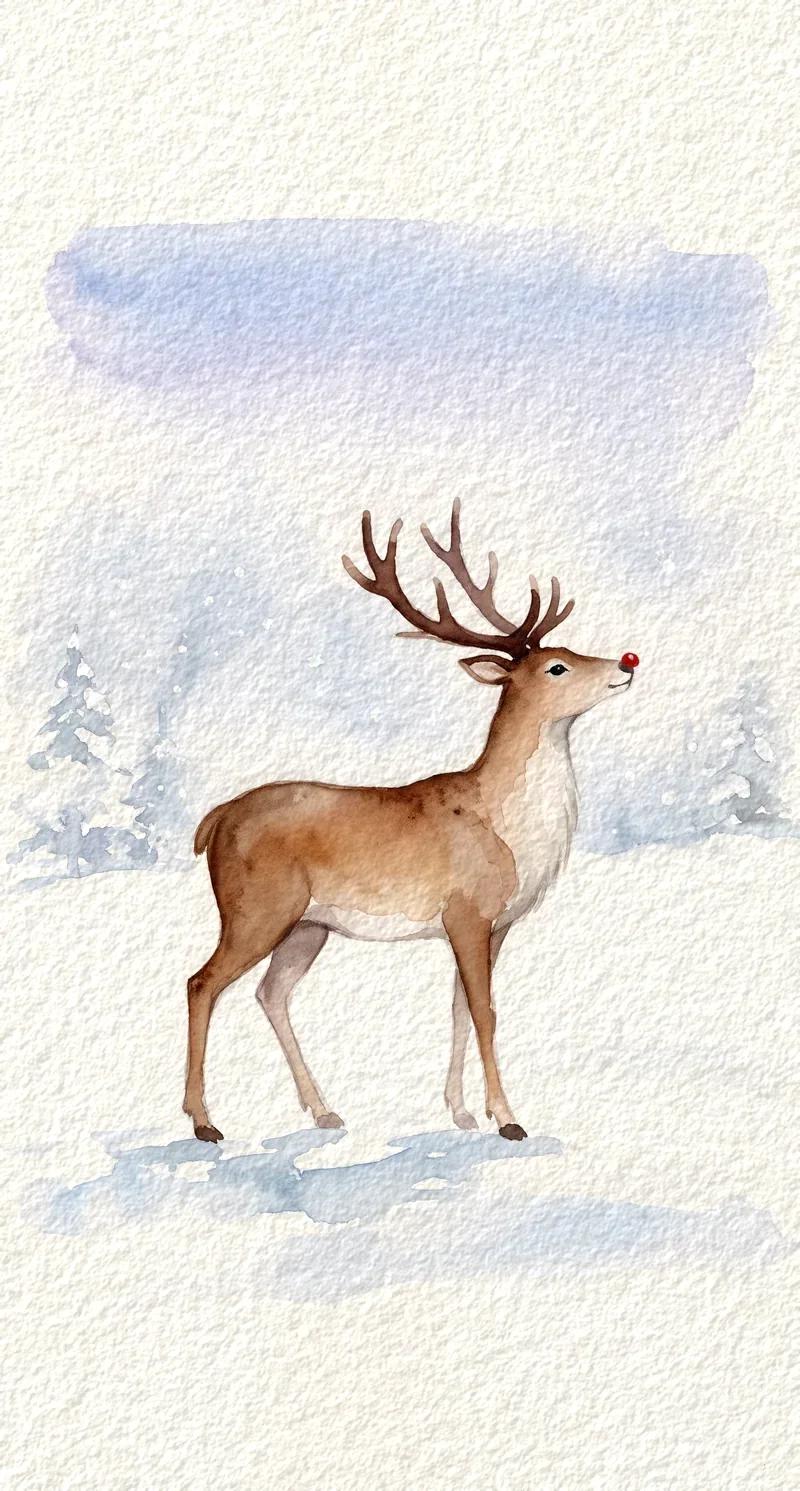 Most of this scene is untouched paper; only the reindeer, its shadow and a band of sky are painted.
A simple brown reindeer in profile, standing in a white field under a pale sky, with a red nose if you like.
- Palette: brown (PBr7), blue (PB29), red (PR255)
- Paper: 300 gsm cold press
- Time: about 45 minutes · Difficulty: intermediate
1. Paint the body. Pencil a simple side-on body with four thin legs, then fill it with brown, leaving the chest and rump pale. 2. Add the antlers. When the body is dry, draw branching antlers with the small round in a darker brown. 3. Ground it. Paint a pale blue shadow under the hooves and a soft blue band of sky above the horizon, leaving the field as bare paper.
Analysis: Which Christmas Watercolor Idea to Paint First
Work through these christmas watercolor ideas in an order that adds one skill at a time. The candy cane (idea 1) teaches you to leave paper white on purpose. The fairy lights (idea 2) teach a single dab per shape, and the mittens (idea 3) add a soft darkening while the paint is still damp.
The bauble (idea 4) and the mug (idea 5) are about a highlight left as bare paper and a shadow dropped in while the shape is wet. Those two moves carry most of the later ideas.
From there, the tree (idea 6) and the wreath (idea 7) teach you to build greenery from short strokes instead of one flat shape. The snow globe (idea 8) is your first wet-on-wet wash. The gingerbread house (idea 9) is mostly patience, because the icing only works if the walls are fully dry.
The street (idea 10) and the reindeer (idea 11) come last. Each one needs a sky wash, a dry layer on top and a few crisp details, all in one piece.
Because all 11 ideas share five tubes, you can paint in batches. Mix one pool of pine green and use it for the tree, the wreath and the snow globe in one sitting. Mix one pool of snow grey for the mittens, the mug, the street and the reindeer. If you want a card version of any idea, the Christmas card ideas post covers sizing and folding.
Frequently Asked Questions
What is the easiest Christmas thing to paint in watercolor? A candy cane. It's one curved white shape with red stripes painted across it, and the white is just bare paper. There is no mixing and nothing to blend, so a first try takes about 15 minutes. A string of fairy lights is the next easiest, since each bulb is a single dab.
What colors do I need for Christmas watercolor paintings? Five tubes cover every idea here: Pyrrol Scarlet (PR255), Hansa Yellow Medium (PY97), Phthalo Green Blue Shade (PG7), French Ultramarine (PB29) and Burnt Sienna (PBr7). Mix pine green, gingerbread brown and snow grey from those five. You don't need a white tube, because snow and icing are bare paper.
What paper is best for Christmas watercolor ideas? Cold-press watercolor paper at 300 gsm (140 lb). Its light texture holds the small dabs of paint these ideas use, and it takes a wet sky without buckling much. A cotton sheet gives you more time on the wet-on-wet ideas, but a cellulose pad is fine for the small objects.
How long does a simple Christmas watercolor painting take? Most ideas on this list take 15 to 40 minutes, including drying time between layers. The candy cane, the fairy lights and the mittens are the quickest. The gingerbread house and the snowy street take closer to an hour because each layer must dry before the next one goes on.
Can I turn these Christmas watercolor ideas into cards or gift tags? Yes. Paint any idea on a 7 by 10 inch sheet of 300 gsm cold-press paper, let it dry flat, then fold it to a 5 by 7 inch card. The candy cane, the fairy lights and the wreath on a door also work at gift-tag size on a 2 by 3 inch offcut of the same paper.
Related Reading
- 12 Easy Watercolor Ideas for Beginners From 3 Tubes: year-round subjects in the same format, from a blue, a yellow and a rose.
- How to Paint Snow in Watercolor: 9 Tips for Clean Whites: masking fluid, salt and opaque white for the snow in ideas 8, 10 and 11.
- Best Watercolor Paper for Beginners: Why 100% Cotton Matters: why a cotton sheet gives you longer on the wet-on-wet ideas.
- Best Watercolor Brushes for Beginners: 3 Shapes to Buy: the round brushes that handle both roofs and fairy-light wires.
References

Written by
Marcus ReedTechnique Editor
Marcus Reed writes Watercolor Daily's step-by-step technique guides: wet-on-wet washes, glazing, dry brush, and the water control underneath them.
NextKeep reading
Features / 14 min
12 Easy Watercolor Ideas for Beginners From 3 Tubes
Features / 13 min
10 Easy Winter Watercolor Ideas From a 4-Tube Palette
Features / 15 min
12 Easy Watercolor Christmas Card Ideas for Beginners
Features / 14 min
10 Watercolor Birthday Card Ideas From 3 Tubes of Paint
Features / 14 min
12 Easy Watercolor Flower Ideas Sorted by Brush Stroke
Guides / 11 min
Dry Brush Watercolor Technique: 8 Tips for Broken Texture
Guides / 14 min
How to Clean Watercolor Brushes: 7 Steps, 3 Ways to Dry
Guides / 11 min
Flat Wash Watercolor Technique: Flat and Graded in 5 Steps
Disclaimer
This article is published for informational purposes and is not professional advice. Product formulations, pigment sources, packaging and store listings change. Check the details that matter to you (price, pigment content, regional availability) with the manufacturer or retailer before you buy.